
Hollywood Bathroom Remodeling Hollywood and nearby cities
Wet Room Bathroom Design and What It Asks of the Construction
A wet room is a fully waterproofed bathroom where the shower shares open space with the tub or the floor. Here is what the idea means, where it works and what the construction must get right.
 Hollywood Bathroom Remodeling
Warm design. Clear planning.
Wet room design
What a wet room is and is not
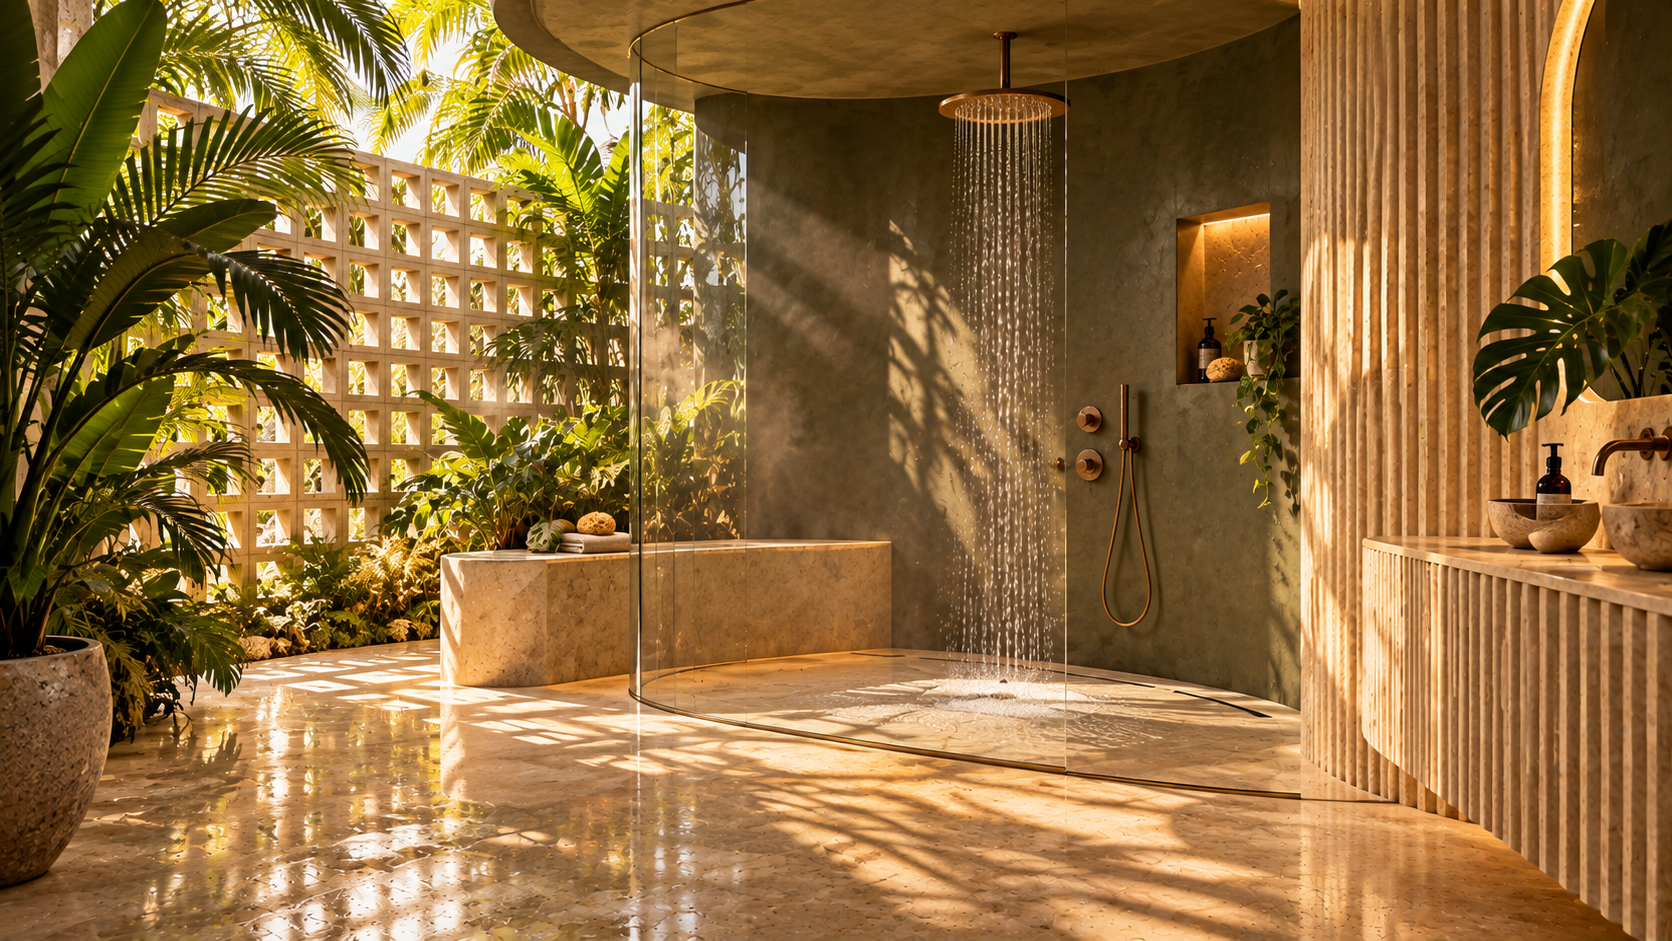
A wet room is a bathroom in which the entire floor, and often the lower walls, are built to handle water. The shower is not confined to an enclosure with a curb and door. Instead, the shower area flows into the rest of the room, and the floor slopes gently toward a drain.
People often confuse a wet room with a large walk in shower. The difference is scale and intent. A walk in shower contains the spray with glass or a short wall, while a wet room accepts that water may reach most surfaces and builds everything to cope. Fixtures, outlets and storage are placed with that in mind.
The idea comes from design traditions where bathrooms double as washrooms and where an open, easy to clean floor is valued. It appeals to homeowners who want a seamless look, easy access and a space that feels like one generous room rather than a box with a shower inside.
A wet room is not a shortcut. It asks for more of the waterproofing and slope than a standard bathroom does, and it needs careful planning of what goes where. The sections below explain the pieces so that you can judge whether the idea fits your home.
Terms differ from one supplier to another, so it helps to describe what you want in plain language when you talk to a remodeler. Say whether you picture an open shower with no door, a shower and tub sharing one floor, or a fully waterproofed room where every surface can be rinsed. The description matters more than the label, because it tells the planner how much of the room must be treated and what that means for the structure.
Where a wet room makes sense
Wet rooms work well in a few situations. A small bathroom where a glass enclosure would feel like a barrier can feel larger when the shower opens into the room. A primary suite that includes a freestanding tub beside the shower can share one waterproof zone. An accessible bathroom benefits from a level, open floor.
They are also popular where a family wants simple cleaning. With no curb, no track and a single surface, there are fewer corners to scrub. A hand held spray can rinse the whole floor if desired. Openness can also come from layout choices, such as clear glass and good light.
They are less suitable where the structure cannot support the needed slope, where a neighbor below shares a ceiling or where the building has rules that limit changes to floors. Condos and townhomes in particular may have restrictions, and requirements vary by building and community. Ask your association and city building department early.
They also ask for a household that is comfortable with a room that gets wet. Towels, a bathroom scale and a stool will need homes outside the splash zone, and the door needs planning so that water does not travel into the hallway.
A useful test is to imagine a normal week. Picture the short shower on a busy morning, the long soak on a weekend, a child splashing and a guest using the room. If each of those scenes feels manageable in an open, wet floor, the idea probably suits you. If any scene raises worry, such as a slippery floor or a damp towel, that is a design problem to solve before construction rather than after.
Waterproofing the whole room
In a conventional bathroom, waterproofing concentrates inside the shower. In a wet room, it extends across the floor and up the walls, and it must be continuous. A membrane system, installed over a properly prepared base, forms a barrier that stops water from reaching the structure below.
Joints, corners, drains, pipes and doors are the weak points. Each must be detailed with the right sealing pieces and overlaps so the barrier has no gaps. A good installer treats these spots as the most important parts of the job, because a leak there can stay hidden for a long time.
Testing is part of doing it properly. Before tile is set, the waterproofed floor can be tested by holding water on it for a period of time and checking for any change. Ask whether the plan includes a test, and whether the result can be shown to you. The reasoning is explained in more depth in shower waterproofing explained.
The membrane must also be compatible with the materials around it. Tile adhesives, drains and wall boards each have requirements, and mixing products from different systems can cause trouble. Ask which system is being used and whether the parts are designed to work together.
- Extend the waterproof membrane across the entire floor and up the walls.
- Detail corners, joints, pipes and drains with the proper sealing pieces.
- Use materials that are designed to work as a system.
- Ask whether a water test is planned before tile is set.
- Keep records of the products used for future reference.
Slope, drains and keeping water where it belongs
A wet room floor must slope toward the drain so water travels to it and does not pool. The slope is gentle, often barely visible, but it needs a flat, well formed base underneath. Getting this right requires skill, because too little slope leaves puddles and too much is uncomfortable underfoot.
Drain choice affects the whole design. A linear drain along one wall allows a single plane of slope, which suits large format tile, while a center drain requires the floor to slope in several directions. Our comparison of linear versus center shower drains explains the tradeoffs.
The drain location should keep water away from the door and from the dry zone. Place the drain near the shower end of the room, and slope the floor away from walkways. If the room is large, a second drain may be worth discussing.
Planning the drain also means planning what is under the floor. Joists, pipes and ducts may limit where a drain can sit or how deep the floor can be recessed. A look at the structure before the layout is final avoids surprises. See also shower drains and slope for the service side of this topic.
Entries, curbs and the edge of the wet zone
A wet room has to decide where the wet zone ends. Some designs use a threshold or a small step at the door, while others lower the floor in the wet area so the rest of the room stays dry. The choice affects access, safety and how water behaves.
A curbless entry feels seamless and is easy to roll into, but it requires the floor to be recessed or the surrounding floor raised. Both ask for structural attention. Our page on curbless showers goes over the construction in detail.
A partial glass panel can contain the spray without closing the room. A fixed panel next to the shower head stops most of the splash, and the rest of the room remains open. Think about where you stand when washing and where the spray lands.
If the door opens into the room, make sure it does not trap water or swing into the spray. A door that opens out, a sliding door or a pocket door can keep the entry clean. Consider also a floor drain or a gentle slope at the doorway so stray water goes where it should.
Tile, joints and surfaces in a room that gets wet
Surfaces in a wet room take more punishment than in a conventional bath. Choose materials designed for wet use, with a finish that grips when wet but still cleans easily. Large format tile has fewer grout joints, but it must be laid on a flat base to avoid lippage and to maintain slope.
Smaller tile, including mosaics, follows slopes more easily and offers more grip. Many wet rooms use small tile in sloped areas and larger tile on the walls. Our guide on bathroom tile sizes and layouts helps you balance appearance and function.
Grout choice matters. Cement based grout needs sealing and maintenance, while epoxy and other modern options resist stains and moisture more strongly. Each has handling and cost differences to discuss with the installer. For more detail, read the grout and sealer guide.
Movement joints are needed where surfaces meet, such as at the floor and wall junction, and these are filled with a flexible sealant rather than grout. Place them as the installer advises, and plan to check them periodically.
Wall surfaces need the same thought as the floor. Tile is the usual choice, but large panels of a solid material with few joints can also work, and each has its own care needs. Whatever the surface, the joints at the top of the wet zone matter, since that is where splash can creep into untreated drywall. Ask the installer how far up the waterproofing will go and how the edge is finished, and compare the options in tile versus solid surface shower walls.
Cleaning is part of the surface decision. A wet floor sees soap film, hard water and the occasional spill, and a textured tile hides less than a smooth one. Choose a pattern and color that you can live with after a week of ordinary use, not only on the day of installation. A sample taped to the floor of your current bathroom will show how it handles real life.
Fixtures, storage and electrical planning
In a wet room, every fixture must tolerate water. Shower valves, heads, hand sprays and accessories should be chosen for wet use, and their rough in locations decided before the walls are finished. A wall mounted faucet over a tub, for example, needs plumbing inside the wall.
Storage needs a new approach. Open shelves in the splash zone get wet, so use recessed niches with a slight slope for drainage, or place cabinets outside the wet area. Towels belong where they will stay dry, such as on a heated rack beyond the spray.
Electrical planning is especially important. Outlets, switches and lights must be placed away from the splash zone or be suitable for wet locations, and protection against ground faults is a topic to settle with a qualified electrician and your city. Our guide on bathroom electrical planning lists the questions.
Think about the toilet and vanity as well. Both may be inside the wet zone if the room is small, and they need to be designed to cope. A wall hung toilet or a floating vanity makes cleaning easier, but both need a solid wall to carry the weight.
Grab bars and seating deserve a place in the plan even if no one needs them yet. Solid blocking inside the wall lets bars or a fold down seat be added later without opening the tile. It is a small decision made once, and it prepares the room for changing needs. The thinking is covered in accessibility planning for bathrooms, which is planning guidance only and not medical advice.
Ventilation and drying in a humid climate
A room that is designed to get wet needs to dry. In South Florida, where the air is already humid, ventilation is vital. A strong, well ducted fan should move moist air outside, and the room should have a way for fresh air to enter.
Surfaces that stay damp invite mold. Slope, ventilation and cleaning habits work together to prevent that. The guide on mold prevention in Florida bathrooms goes through these habits in detail.
Consider a window that opens, if the layout allows it. Natural airflow helps the room dry, though privacy treatments and security should be thought through. A fan on a timer or humidity control can handle the rest.
Heated floors and towel warmers can help drying too, but they must be designed for the location. Discuss them before the floor is built, since they cannot be added later without removing tile.
Salt air near the coast and strong summer humidity mean that metal parts, caulk and grout all work harder in a wet room. Choose fixtures with finishes that suit a coastal climate, and plan on a simple maintenance routine: wipe down, check joints and keep the drain clear. A room built for water still benefits from attention, and the habit costs very little.
Hurricane season, leaks and the rooms around it
A wet room puts more weight on the waterproofing than a conventional bath, so think about what happens if something goes wrong. A leak that reaches the structure can travel into neighboring rooms, so the barrier, the drain and the floor assembly are worth doing carefully. Ask how the plan protects adjoining walls and ceilings.
During hurricane season, heavy rain and power loss can add stress. A wet room that depends on a pump or an electric drain system needs a plan for when power is out. Gravity drains avoid that issue, which is one more reason to discuss the drainage design with your remodeler. Our page on hurricane season bathroom remodel planning covers timing and preparation.
Insurance is worth a call. Ask your insurer whether a change such as a wet room affects your coverage or has any requirements, and keep records of the work. This page is general guidance for homeowners and does not replace professional advice.
If you are still deciding between a wet room and a more traditional layout, compare them honestly. Sometimes a generous walk in shower with a fixed glass panel offers most of the benefits with fewer demands. A conversation about how you really bathe may help you decide.
Planning questions and the conversation to have
Start with why you want a wet room. If it is for accessibility, openness, cleaning or style, the answer shapes the layout. Bring photos of rooms you like, and be honest about how you use the bathroom. A wet room that does not match daily habits can be a source of frustration.
Ask what the structure allows. Floor depth, joist direction, plumbing locations and the room below all influence feasibility. A remodeler can look at these during a visit and explain what is possible in your home, rather than in the abstract.
Discuss the full system: membrane, drain, slope, tile, grout, glass, ventilation and electrical. Our bathroom waterproofing planning page gives a framework, and the overview of waterproofing shows how it fits the larger project.
Finally, check rules. Permit requirements, building rules and association policies vary, and a wet room may trigger inspections. Ask your city building department and your association before finalizing the plan.
Good to know
Common questions
Is a wet room the same as a curbless shower?
Not exactly. A curbless shower has no raised edge, but it is still an enclosed area. A wet room extends the waterproofing and slope across the whole floor and treats the room as one wet zone. Many wet rooms use a curbless entry, but the scale and construction differ.
Can a wet room work in a small bathroom?
Yes, and small rooms are a common use. Removing the enclosure can make the space feel larger. It needs a sloped floor, continuous waterproofing and careful placement of fixtures and storage so that water does not reach items that should stay dry. A remodeler can check feasibility.
Do wet rooms need special waterproofing?
They need continuous waterproofing across the floor and up the walls, with careful detailing at corners, drains and pipes. The system should be designed to work together, and a water test before tile is set is worth asking about. Product choices and methods should be discussed with the installer.
Will a wet room leave the whole bathroom damp?
It can if ventilation and slope are poor. With a strong exhaust fan, a correctly sloped floor, good drainage and a squeegee habit, most of the water leaves through the drain. Partial glass panels can also reduce splash in the dry part of the room.
Are wet rooms allowed in condos?
Rules vary by building and community. Some associations limit floor changes, waterproofing methods or work involving the unit below. Ask your association and your city building department before planning, and share their answers with your remodeler so the design stays within the rules.
What tile works for a wet room floor?
Tile with a finish that grips when wet and cleans easily is the goal. Smaller tiles follow slopes and add grip, while larger tiles reduce grout lines but need a very flat base. Discuss the choice with your installer, along with the grout type and movement joints.
Your bathroom starts with a conversation