
Hollywood Bathroom Remodeling Hollywood and nearby cities
Waterproofing: the system behind the tile that protects your home
Tile gets the attention, but waterproofing does the protecting. It is the layered system of substrate, membrane, slope and sealed details that keeps water inside the shower and out of your walls and floors.
 Hollywood Bathroom Remodeling
Warm design. Clear planning.
The wet area system
The part of the bathroom nobody sees and everyone depends on
When a bathroom is finished, the tile, the glass and the fixtures are all on display. The waterproofing is gone from view, covered by the surfaces you chose. Yet it is the part that decides whether the room stays sound or slowly develops problems that appear years later as stains, soft spots, loose tile or odors.
The reason is simple. Tile and grout are durable, but they are not watertight. Water can pass through grout joints and, over time, through the tile itself in small amounts. In a shower used daily, that moisture has to be stopped by something behind the tile, and that something is a system built on purpose.
Waterproofing is not a single product. It is a combination of a stable substrate, a continuous membrane, a floor sloped to a drain, sealed corners and penetrations, and a drain assembly that connects correctly. Each part supports the next, and a weakness in any one can compromise the others.
This page explains the system in plain language, so that you can ask good questions and understand what is being protected when your bathroom is opened up. It is a planning page for homeowners, not an instruction set for doing the work yourself.
What counts as a wet area
A wet area is any part of the bathroom that meets water directly and regularly. The obvious example is the shower, with its floor, walls and ceiling. A tub surround is another. The floor around a tub or shower, the wall behind a freestanding tub, and the area near a sink that sees splashes can also be treated as wet or damp areas.
The level of protection depends on how much water reaches the surface. A shower wall that is sprayed directly needs a full membrane. A vanity wall that rarely sees more than a splash may need less, though moisture still moves through a humid room. Planning the right level for each surface is part of the design.
Ceilings deserve a mention. Steam rises and condenses, and a shower ceiling that is tiled or painted without proper treatment can show stains or peeling. Good ventilation helps, and so does choosing a ceiling finish suitable for damp conditions. Our guide on ventilation and humidity in Florida bathrooms goes deeper.
Walk through your own bathroom and note where water lands, where it runs, and where it sits. That simple observation helps us decide where the system has to be most carefully built.
The substrate: a stable base for the system
The substrate is the surface that the waterproofing and tile are attached to. It might be a cement based board, a foam board made for wet areas, or a mortar bed. Whatever the material, it must be sound, flat, properly fastened and suited to the type of waterproofing that will cover it.
Flatness matters more than people expect. A membrane follows the surface it is applied to, and tile follows the membrane. If the base has dips, bumps or loose areas, those show up in the finished surface and create stress points where cracks can start. Preparing the substrate carefully is an investment in everything that follows.
Framing behind the substrate counts too. Studs should be straight and spaced for the board, and blocking should be added wherever something will be mounted later, such as a grab bar, a glass panel or a shower seat. Adding blocking while the wall is open avoids having to open it again.
Older homes sometimes hide surprises here. When a tub surround or old shower is removed, the wall behind it may show deterioration, uneven framing or past repairs. We would rather find these things during demolition, tell you what we see and plan the fix than cover them with new tile.
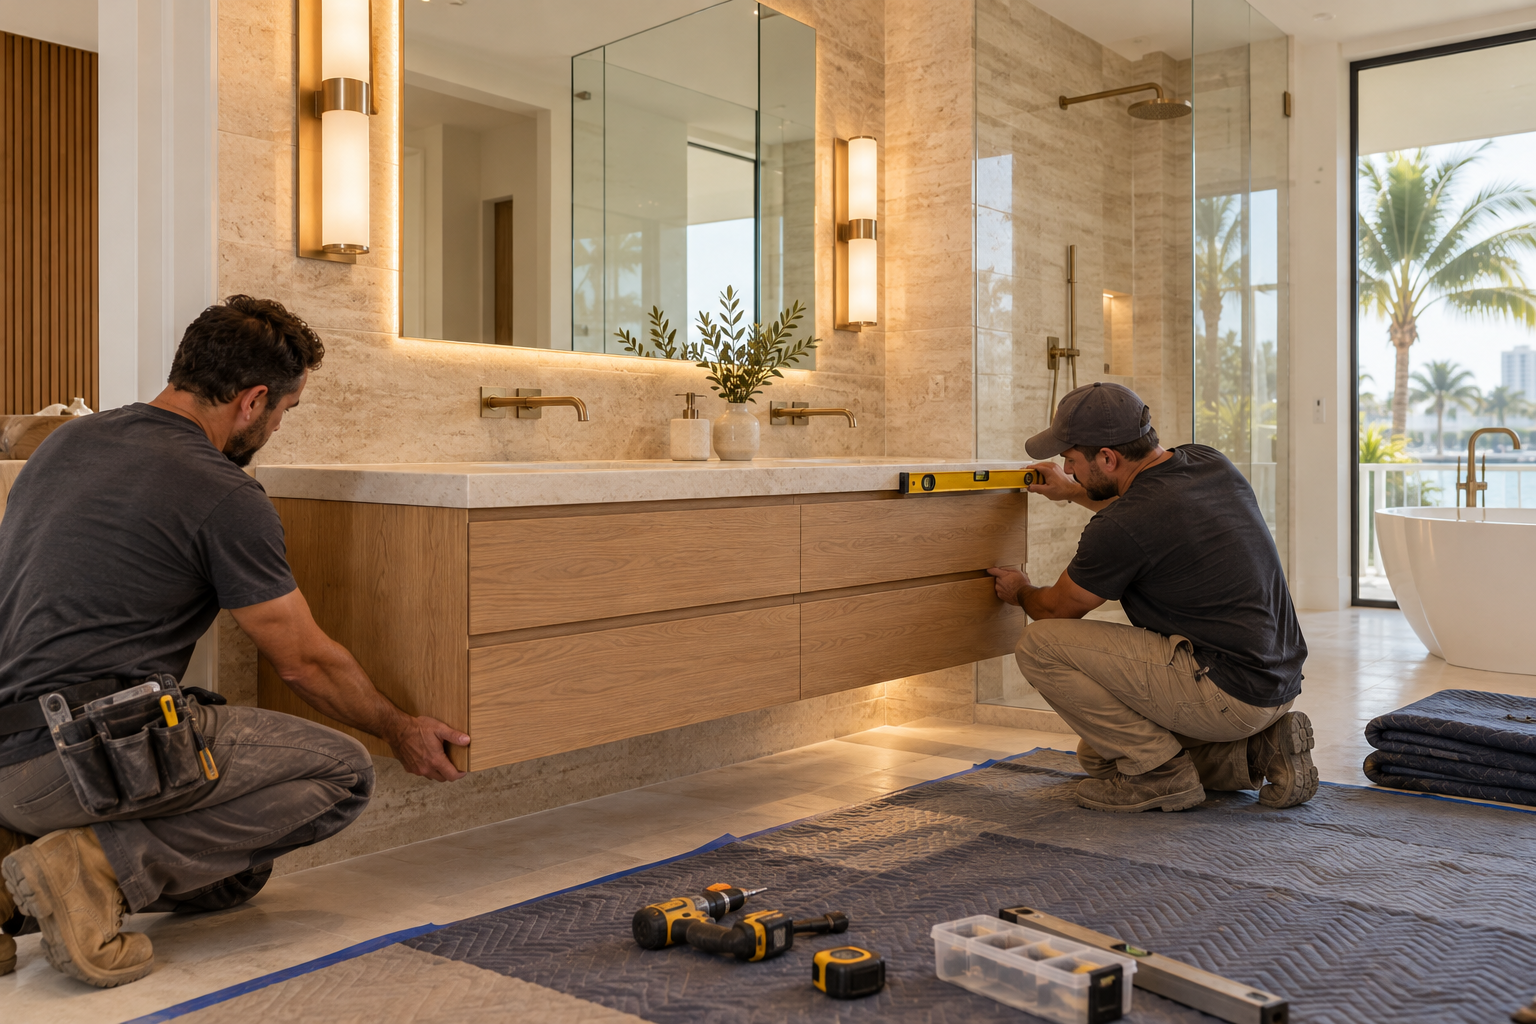
Design inspiration and careful preparation.
Membranes: sheet systems and liquid applied layers
The membrane is the waterproof layer itself. Two broad families are common. Sheet membranes are rolled out and bonded to the substrate, overlapping at seams, and they offer consistent thickness. Liquid applied membranes are painted or rolled on in coats, flowing into corners and around fixtures, and cure into a continuous film.
Each approach has strengths. Sheet systems are valued for predictability and for easy visual inspection of coverage. Liquid systems are valued for wrapping complex shapes such as benches, niches and curved walls. Which is suitable depends on the design, the substrate and the products that work together as a system.
Compatibility is a quiet but important detail. Membranes, adhesives, sealants and tile setting materials are designed to work together, and mixing products without checking can cause adhesion problems. The planning stage includes confirming that every layer in the assembly belongs together, following the maker instructions for each product.
We will not claim that one family is better in every case, because it is not. What matters is that the system is complete, continuous, correctly applied and allowed to cure before tile is set. The shower waterproofing explained guide gives a plain walk through of these steps.
- Sheet membranes are rolled and bonded, with overlapping seams.
- Liquid applied membranes flow into corners and around fixtures.
- Both need a clean, flat, sound substrate beneath them.
- Seams, corners and penetrations get additional treatment with fabric or preformed pieces.
- Cure time and product compatibility are respected before tile is installed.
Floors and slope: letting water leave
A shower floor works by sending water to the drain, which means it must be sloped. The slope to the drain is built into the mortar bed or a preformed pan, and the membrane follows it. If the slope is too shallow, water can linger. If the slope is uneven, puddles collect in low spots and keep grout damp.
Many wet floors use a two stage approach. A sloped base under the membrane carries any water that passes through the tile and grout toward the drain assembly, and a sloped top layer carries the surface water to the drain. This arrangement lets the system shed moisture from more than one level.
Floor tile size is connected to slope. Small tile bends easily over a slope. Large tile needs a plane or planes of slope, which may be divided into a few facets or arranged as a single plane to a linear drain. Our tile installation page explains how tile layout and slope are planned together.
The area outside the shower deserves attention too. Where a shower meets the bathroom floor, a threshold, a curb or a sloped edge must keep water from escaping. A small detail at this point protects the floor, the subfloor and even rooms nearby.
Seams, corners and penetrations: where problems begin
Most waterproofing failures begin at details, not at flat surfaces. The corner where two walls meet, the line where wall meets floor, the edge of a bench, the inside of a niche and the place where a pipe passes through the wall are all places where a membrane can be cut, stretched or left with a gap.
These areas get extra care. Corners are reinforced with fabric or preformed pieces. Seams between sheets are overlapped and bonded. Pipes and valve bodies get sealed collars or flashing. The goal is to make the membrane continuous, so that there is no path for water from the wet surface into the wall.
Fixtures are a common source of trouble. Every shower head, valve trim, hand shower bracket and grab bar passes through or attaches to the wall. Planning their positions before waterproofing lets each opening be treated properly. Drilling new holes later through finished tile and membrane is something to avoid.
We mark every penetration on the plan and discuss it with you, then confirm positions again before the wall is closed. It is one of the most useful habits in bathroom construction, and it costs nothing but attention.

Human from the beginning
A bathroom should fit the people who use it.
We start with the everyday questions: What feels crowded? What is difficult to clean? Where do you need more storage? What would make mornings easier? Those answers help turn a collection of materials into a room that feels natural to live with.
Tell us about your bathroomCurbs, benches, niches and other built shapes
Shower shapes add complexity. A curb at the entry must be waterproofed on its top, its inside face and its outside face, and the membrane has to connect to the floor and wall around it. The curb also needs a slight slope toward the inside of the shower so water drains back instead of resting on the top.
Benches follow the same principle. The seat has a slight slope, the front face and top edge are covered with membrane, and the junction with the walls and floor is treated like any other corner. A bench is a large surface that sees water, so it needs the same system as the floor.
Niches are small but demanding. They have an interior floor, an interior ceiling and several corners. Preformed niche forms, or carefully framed and lined recesses, give a consistent base for the membrane. A niche set with its bottom sloped slightly forward keeps water from sitting inside.
Our custom showers and frameless glass page explains how these elements are designed. The waterproofing plan follows the design, so the more clearly the shower is drawn, the more reliably the membrane can be installed around it.
Drains: the connection that has to be right
The drain assembly is where the shower floor meets the plumbing. A typical drain has a base that attaches to the pipe, a clamping ring that holds the membrane, and a top piece set to the final tile height. Weep holes in the lower section let water that reaches the base of the floor flow into the drain.
Setting the drain at the right height is critical, because the finished tile must slope toward it. The drain also has to be connected to the membrane so that no water can pass between them. This is why the drain, the membrane and the floor are planned as a single assembly and not as separate trades.
Linear drains, which run along a wall or across the entry, are popular for curbless showers and large format tile. They allow a single plane of slope but require careful planning of the framing, the trap location and the length of the channel. Center drains are simpler and suit most standard showers.
Whichever style you choose, the drain should be accessible for cleaning and should be sized for the fixtures it serves. We discuss these points during planning, including any plumbing changes below the floor that might be needed.
Testing, inspection and patience
Before tile is set on a wet floor, it is common practice to test the membrane. A flood test fills the pan with water to a defined level for a defined period and checks that the level holds. It is a simple way to see that the drain connection and the membrane are sealed before anything is covered.
Visual inspection is just as valuable. A membrane that has been applied evenly, with no gaps, thin areas or air bubbles, is easy to recognize. Taking time to look at the work, section by section, is far less costly than finding a problem after the tile is finished.
Curing is the other piece. Membranes and setting materials need time to cure according to the instructions for each product. Setting tile too soon can compromise the bond. We do not make time promises in advance, because the right timing depends on the products and conditions, and we follow the maker instructions rather than a calendar.
This careful approach is what we mean by planning before building. The work that no one sees gets the most attention, because mistakes are hardest to fix once the room is complete.

Recognizable when we arrive
The Hollywood Bathroom Remodeling van and team.
Consistent branding helps homeowners know who is arriving. The same organized presentation continues inside the project, from room protection and tools to the materials and details discussed before work begins.
See our processHumidity, ventilation and living in South Florida
Broward County bathrooms deal with warm, humid air for much of the year. Waterproofing is only part of managing moisture. A properly sized exhaust fan that vents outside, not into an attic, removes steam before it settles on walls and ceilings. Fans that are too small or poorly ducted leave moisture behind.
Paint, caulk and grout also play a role. Mildew resistant paint, flexible sealants at inside corners and sealed or stain resistant grout all help the surface stay clean and dry. These are the visible parts of a system that begins behind the walls.
Condominiums add another layer. Floors above other units need extra care because a leak affects neighbors, and building rules about materials, protection and approvals vary. Read the notes on condo bathroom remodeling and our guide to condo bathroom remodeling and your association, and ask your association what applies.
For houses, ask your city building department what applies to plumbing and wet area work. Requirements vary by city, and we would rather you hear them from the source than from us.
Where waterproofing fits in your project
Waterproofing touches nearly every shower project. In a bathtub to shower conversion, the old tub area becomes a true shower, and the walls and floor need a complete system. In a walk in shower conversion, the entry, floor slope and drain are the key details.
The work follows the same path as the rest of the project. You tell us about the bathroom. We build the project direction, including scope, layout, materials and priorities. We coordinate the details across surfaces, fixtures, storage, lighting and wet areas. Then we prepare for construction by reviewing the plan and the information needed before work begins.
We serve homes across Broward County, including Hollywood, Dania Beach and Fort Lauderdale. Our branded team protects the work area during construction. Imagery on this site is concept imagery while real project photography is prepared.
To begin, request an estimate and describe your bathroom. We will talk through the wet area system with you, so you know what is being built behind the surfaces you see.
Good to know
Common questions
Is tile waterproof on its own?
No. Tile and grout resist water at the surface, but moisture can pass through grout joints and, in small amounts, through the tile. A membrane behind the tile, built on a sound substrate and connected to the drain, is what actually keeps water out of the wall and floor.
What is the difference between sheet and liquid membranes?
Sheet membranes are rolled out and bonded with overlapping seams, while liquid membranes are applied in coats and cure into a continuous film. Both can work well when installed as a complete system with compatible products. The choice depends on the shape of the shower and the substrate.
Why are corners and fixtures such a concern?
Corners, seams and openings for pipes and fixtures are where a membrane is most likely to be cut, stretched or left with a gap. Those spots receive extra reinforcement and sealing, and fixture positions are confirmed before the wall is closed so nothing has to be drilled afterward.
Can a shower be tested before tile goes on?
Often yes. A flood test fills the sloped floor with water to a set level and checks that it holds. Combined with a careful visual inspection, it helps confirm the drain connection and membrane are sealed before they are covered. We discuss testing as part of the plan.
What should I ask my city or condo association?
Ask what approvals, inspections, work hours and material rules apply to plumbing and wet area work. Requirements vary by city and by building, so we do not state them for you. Share the answers with us before construction so the plan can respect them.
How do I begin with Hollywood Bathroom Remodeling?
Use the request an estimate form on the home page and describe your bathroom, any past water problems and what you want to change. We then build the project direction, coordinate the details and prepare the plan, including the wet area system, before construction begins.
Your bathroom starts with a conversation